Before & After: Studio Workshop Renovation
We’ve been steadily chipping away at our home renovation projects and it’s time to share another room that we’ve finished. The 3rd floor of our house has two rooms, a guest bedroom in the front facing the street, and another in the back. The back room was by far the worst room in the house and elicited some dire reactions from anyone who ventured in there.
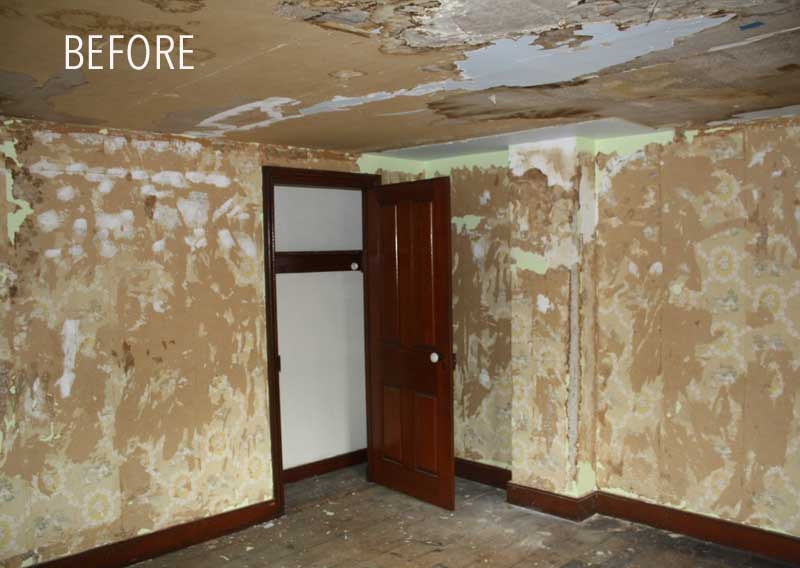
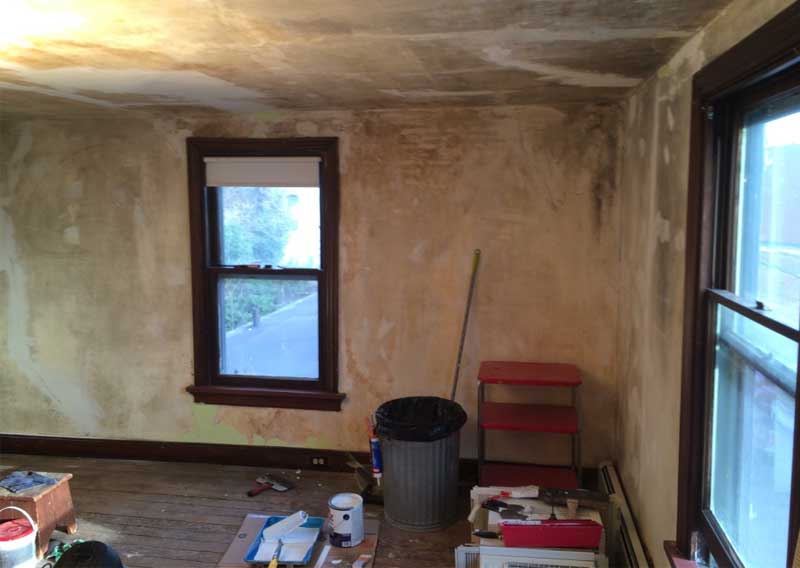
It looked like a room from a bad slasher movie, but it has great light and a view of the capital dome.
For obvious reasons the FHA appraiser add this room to our “must fix” list! We could see past the layers of dirt, the ceiling that was falling down and imagine a nice studio/workshop space. So as usual we got busy scraping, and scrubbing (another shout out to my husband’s brother Ed and his wife Donna who came and helped remove layers of wallpaper) and repairing the walls and ceiling.
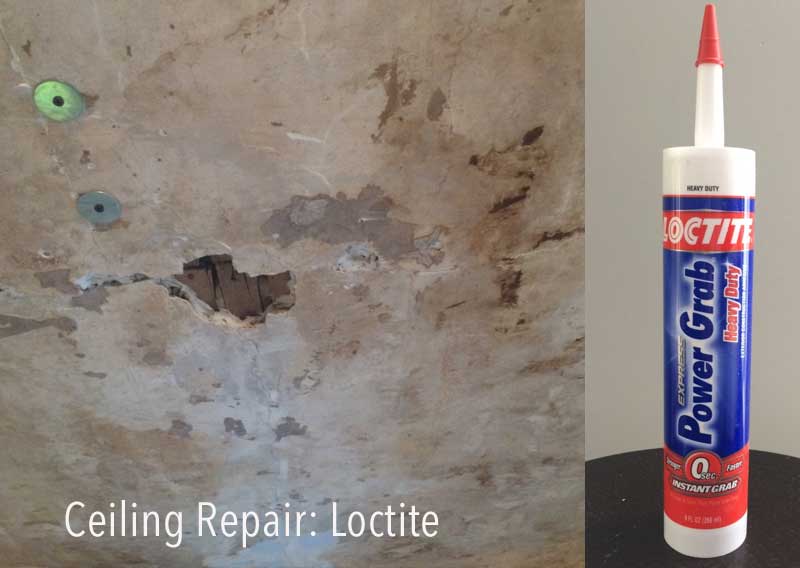
Part of the ceiling had a lot of old water damage and the plaster was a mess. But our new best friend Loctite Power Grip came to the rescue and the ceiling is looking good as new (well, maybe not new, but you get the picture)
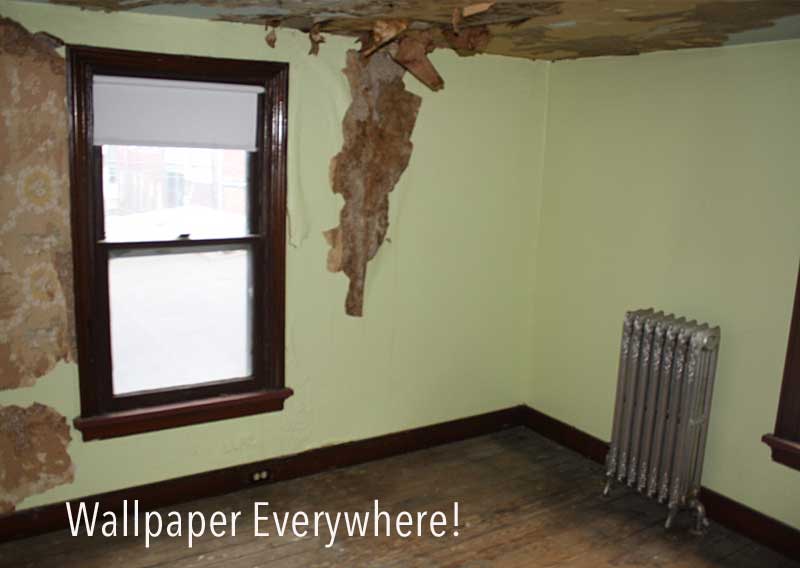
 Here’s an in progress shot. The old ornate radiator is gone, which is a shame, but having a new heating system that actually, you know, heats, is great! The ceiling is patched and plastered and the wallpaper is gone. The next step was washing and scrubbing the old glue and dirt off the walls so they could be primed and painted.
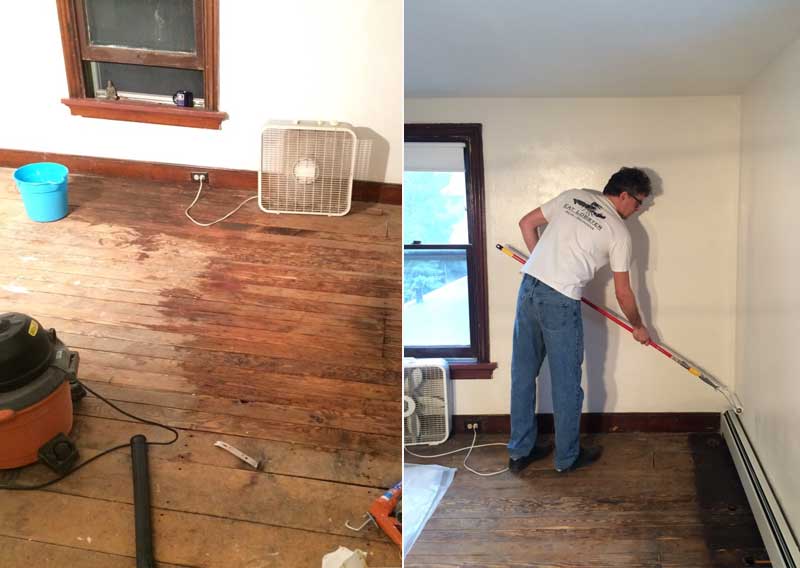
The floors were also on the FHA appraiser’s list. They needed to be repaired, or replaced so we did more sanding, scraping, repairing and washing as a new floor is not in the budget. Once the walls were primed we started to see our vision taking shape.
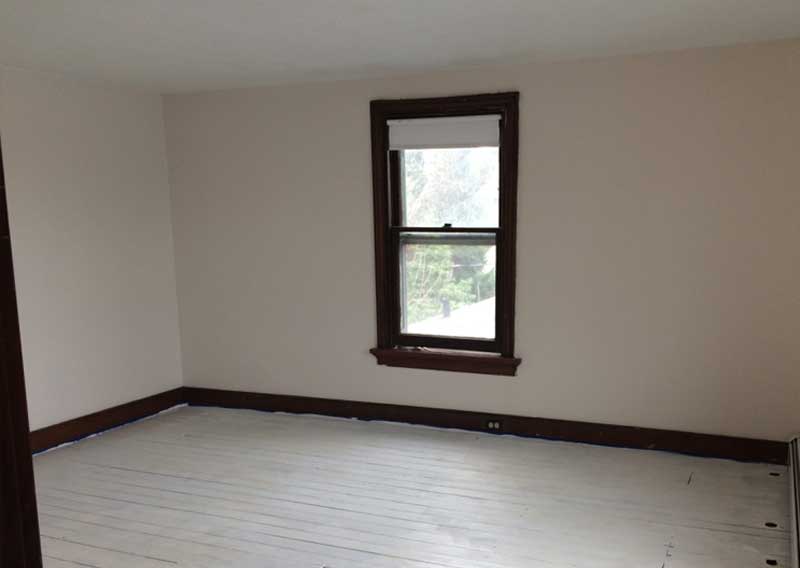
A fresh coat of paint makes everything look better – the old dirty and beat up wood floors get primed for the final coat of paint.
A light color helps keep the space bright. I probably should have peeld up the painters tape along the baseboard before taking the photo…oops.
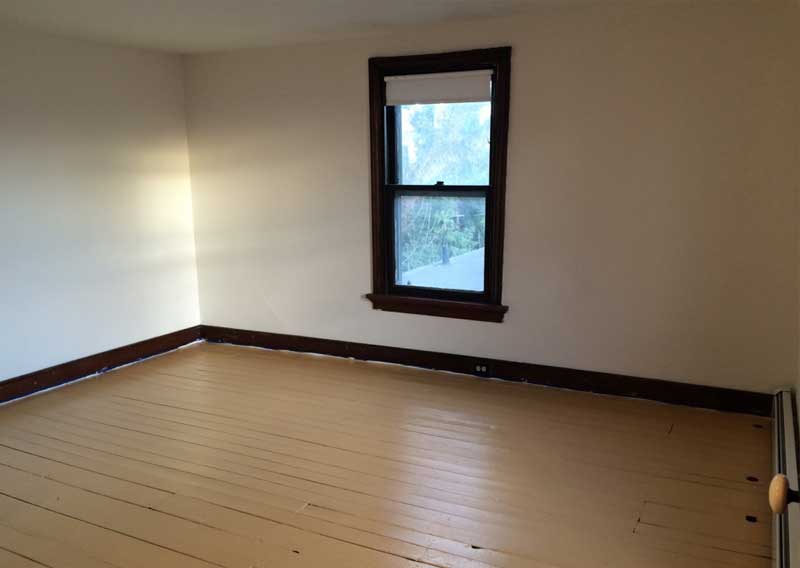
We did 2 coats of floor paint (Sherwin Williams) and let the room sit over a weekend. Then the moving in began in earnest.
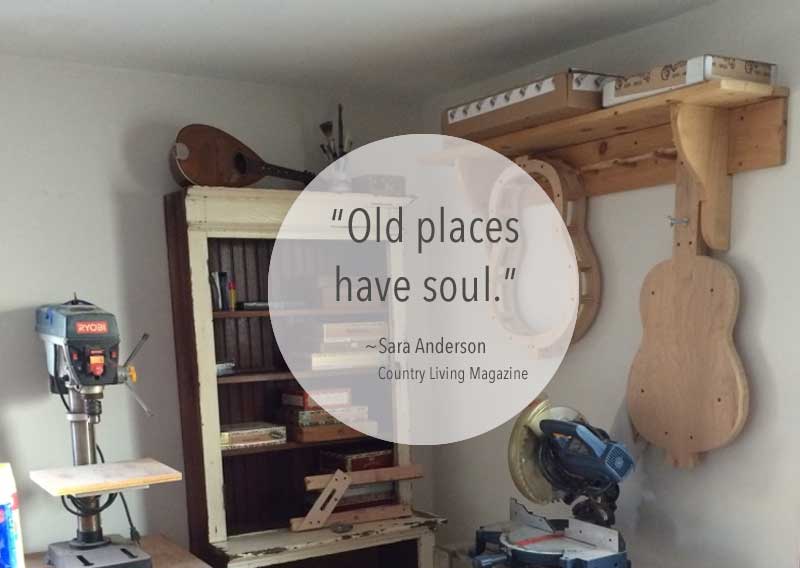
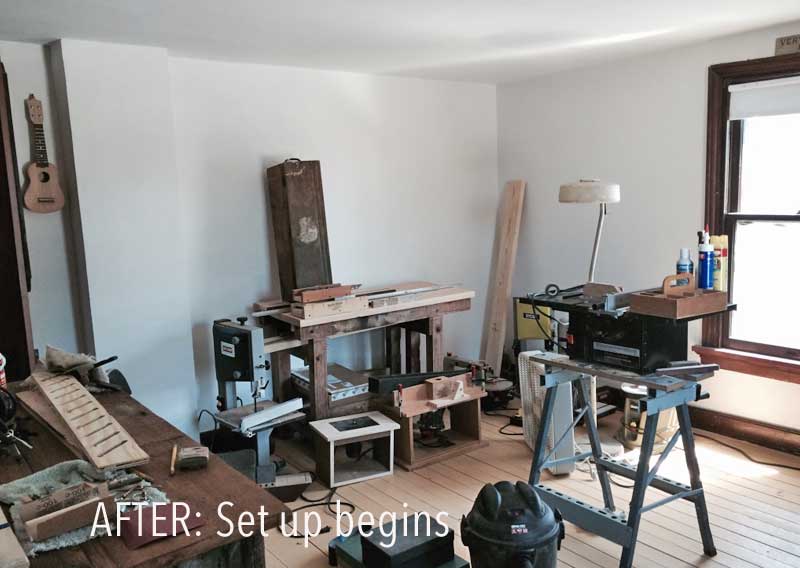
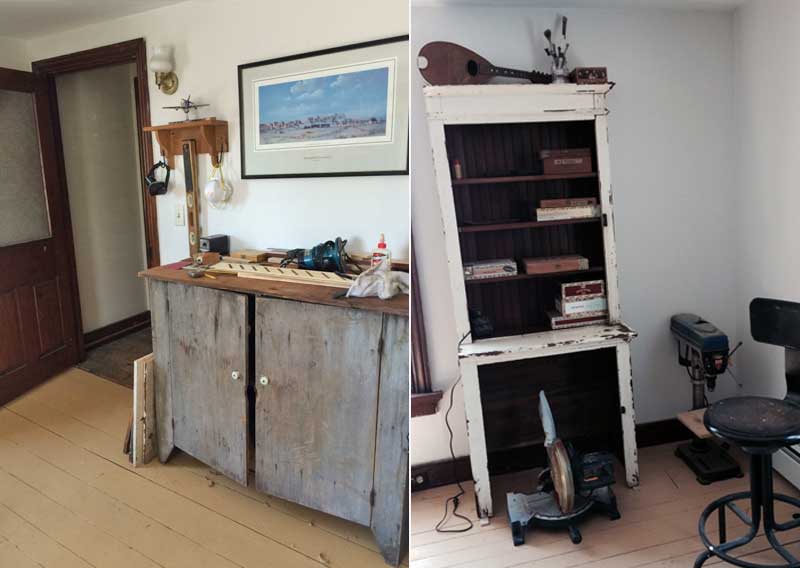 My husband, Kevin is anxious to get his studio/workshop set up and ready to use. The room is coming together. He is using old, repurposed and salvaged materials and furniture pieces to give the studio a vintage vibe.
Next up…the Dining Room!


Great work as usual! 😀 We’re getting our keys in 10 days and I cannot wait! Have been binge watching HGTV hahaha
Hope all is well 🙂
Thanks Alex
So excited for you guys. Can’t wait to see your home photos!